
Twitch has become a vibrant hub for players, creators, and entertainers, offering a space for individuals to exhibit their skills and interact with viewers from all over the world. As a content creator, maintaining your work is essential, whether for upholding your reputation, highlighting highlights with followers, or potentially earning from your content. However, navigating the realm of Twitch content can be challenging, especially with multiple formats and methods available.
In this piece, we will explore efficient techniques for recording, downloading, and managing your Twitch streams, VODs, video snippets, and showreels across multiple platforms and devices. From grasping the best ways to save your broadcasts to delving into recording setups that yield top-notch results, we aim to equip you with the knowledge needed to safeguard your Twitch experience. Whether you are a seasoned streamer or just beginning, mastering these techniques will greatly enhance your ability to manage content and general streaming experience.
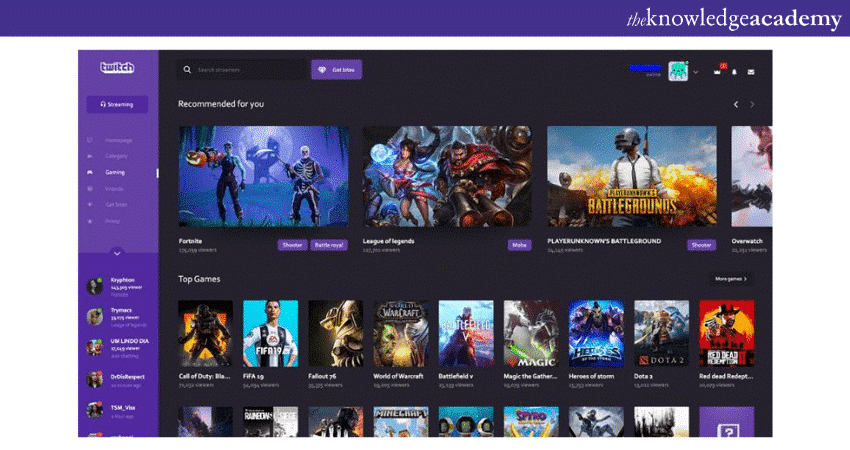
Capturing Twitch.tv Broadcasts
Recording your Twitch streams is crucial for keeping noteworthy moments and building a collection of content for upcoming use. To begin, you will need dependable applications designed to capture visual and audio streams. There are many choices available, including dedicated streaming tools like OBS, Streamlabs OBS, or even built-in applications in services such as Windows Game Bar for Windows. All of these tools allows you to adjust settings such as resolution, data rate, and sound fidelity to make sure your captures look and sound professional.
For individuals wanting in recording on a macOS, there are dedicated applications like QuickTime Player, which offers straightforward capture functions, as well as more advanced programs like Elgato Game Capture. Whichever platform you use, always make certain that your recording preferences are optimized for clarity. This includes selecting the right resolution and frame rate that mirrors your broadcasting output for uniform performance. It’s also advisable to test the setup before a streaming session to iron out any system glitches.
Lastly, consider your storage and arrangement strategies for the recorded footage. Broadcasting can produce large files, so having a robust saving solution is crucial for future archival. Sort your recordings into folders by time, category, or theme to simplify your workflow when you go back to modify or reuse material later. Implementing a well-defined strategy will help you manage your library efficiently, allowing for quick access to highlights, VODs, and clips when you need them.
Acquiring Twitch VODs and Clips
To download Twitch Videos on Demand and clips, you need to start by understanding the available options. Twitch itself allows content creators to archive their live broadcasts for a specific time, giving viewers an opportunity to catch up later. For content creators, it is essential to enable the setting to store Videos on Demand in the configuration to guarantee that all streams are saved. Once you have activated VOD storage, you can retrieve your past streams directly from the Twitch.tv dashboard. Simply go to your Video Management section and choose the VODs you want to save. This feature makes it simple for streamers to keep a log of their material.
In addition to the built-in Twitch functionality, there are multiple external tools and applications available for efficiently storing Twitch.tv short videos. Common desktop applications like Open Broadcaster Software Studio and Stream Lab allow users to record their live sessions and store clips on their device. Furthermore, some web add-ons can enable video downloading directly from the Twitch website. These tools often come with added functionality, such as the capability to capture in HD while offering adjustable settings for video quality and bitrate. By exploring these choices, streamers can effectively capture their highlights and distribute them with their audience.
Lastly, mass retrieval methods can greatly improve your archiving strategy. Many websites facilitate the bulk download of Twitch.tv Videos on Demand and clips, allowing you to select multiple videos at the same time and retrieve them in a single action. This can save time and simplify the management of your recordings. Additionally, consider adding a storage and organization system for the downloaded content, making sure that you can easily access and manage your content. Proper storage strategies are crucial to keeping a sustainable content library and preserving your broadcasting legacy.
Managing and Saving Media
When you captured and downloaded your Twitch streams, it is important to establish a reliable organizational system. Establish directories for different types of files such as VODs, clips, and highlights. Within each folder, you can additionally sort the materials by date, title, or event, facilitating quick access later. Standard naming conventions, which include the date and content type, can aid in quickly identifying specific recordings, making your storage easy to navigate.
For long-term keeping, contemplate using cloud services or external drives. This method not only safeguards against data loss but also permits for easy sharing with collaborators or followers. Periodically back up your collections to ensure that no material is inadvertently lost. Always check that your materials are reachable and in a compatible format, which helps maintain video quality without significant degradation over time.
In addition of organizing, think about how you aim to leverage your archived content. If you intend to edit highlights for social media or compile compilation videos, keeping those documents quickly retrievable will save time and effort. Establishing a robust tagging system can enhance your workflow, permitting you to swiftly locate specific clips or VODs when you need them for streaming creation or streaming purposes.
Legal Considerations for Preserving Streams
When capturing and archiving Twitch streams, it is crucial to understand the legal ramifications surrounding copyrighted content. Twitch streamers often use music, video clips, and other media that may be covered under copyright law. It is crucial to verify that any recordings made adhere with fair use principles, which differ depending on the location. Fair use typically allows for restricted use of copyrighted material without permission for reasons such as commentary, criticism, or educational use. However, relying on fair use can be hazardous, and creators should consider obtaining licenses for any third-party content they desire to integrate.
An additional important factor is the platform's terms of service and community guidelines. Twitch has particular rules regarding the capture and sharing of content. Streamers must follow to these policies to prevent potential suspensions or additional penalties. Download Twitch streams offline free is advisable to familiarize yourself with Twitch’s guidelines on copyright and content ownership to ensure that any archived material is permissible. Additionally, always be cautious when recording interactions with other streamers or viewers, as privacy concerns and consent issues can emerge.
Lastly, long-term storage and distribution of recorded content can present further legal challenges. If you intend to share your recordings to the public or monetize them, seek legal advice to confirm compliance with all relevant laws and regulations. Consider potential liabilities that might arise, such as claims of infringing on a creator's rights or issues related to monetization without permission. By grasping these legal considerations, you can protect yourself and your content while effectively preserving your Twitch streams.
Editing and Generating Revenue from Recorded Streams
After you have effectively captured your Twitch streams, the subsequent phase is enhancing to refine the video content. This process can involve removing unnecessary parts, incorporating graphics or effects, and improving audio quality to produce a professional final product. Utilizing tools like Adobe Premiere Pro, Final Cut Pro, or user-friendly options like iMovie can help you boost your recordings and make them more engaging. Remember to focus on key moments that resonate with viewers, as these highlights can boost engagement.
Once you’ve finished editing, monetizing your content becomes a crucial topic for many content creators. You can post your edited streams to platforms like YouTube, where you can earn revenue through ads, sponsorships, and subscriptions. Additionally, Twitch itself offers monetization options through member support and bits, which can be capitalized on by promoting your recorded content to your live audience. Make sure to comply with all legal considerations regarding copyright and intellectual property rights when monetizing your streams.
Finally, effective organization and promotion of your recorded content can greatly contribute to channel growth. Implementing a consistent upload schedule and optimizing your titles and thumbnails can attract more viewers. Consider creating playlists for your highlights or specific themes to make it easier for fans to find what they enjoy. By strategically refining, monetizing, and organizing your recorded Twitch content, you can build a strong channel that contributes to your creative output and income.